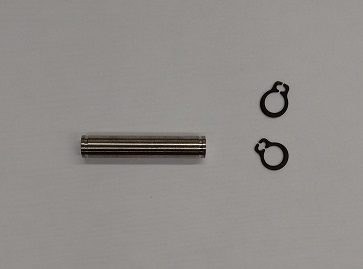
@Tyler_Berryman note that starting December 1st we will deliver the kit with both shaft and all the required snap-rings. So instead of ordering two of the kit for a single Gripper you will simply order one.
You need to order part: AGC-PARA-KIT-002

The Dof Community was shut down in June 2023. This is a read-only archive.
If you have questions about Robotiq products please reach our support team.
If you have questions about Robotiq products please reach our support team.
 Etienne_Samson
Hi everyone,


I saw that quite a few people were interested in how you can limit the gripper's movement to a parallel grip only. You can purchase a locking kit that will limit the gripper's movement when closing, this ensures that the fingertips will maintain the parallelism when closing on an object. The kit contains a locking pin and 3 snap rings :
To install the parallel locking kit, you must insert the locking pin in the through hole that is located on the gripper's finger. The snap rings are used to secure the locking pin in place.
* Don't forget to wear safety glasses during the installation since the snap rings can get launched when installing them! This is also why the parallel kit comes with 3 snap rings (In case you lose a snap ring)! The following schematic illustrates how to install the parallel kit.