
 Tyler_Berryman
 Catherine_Bernier

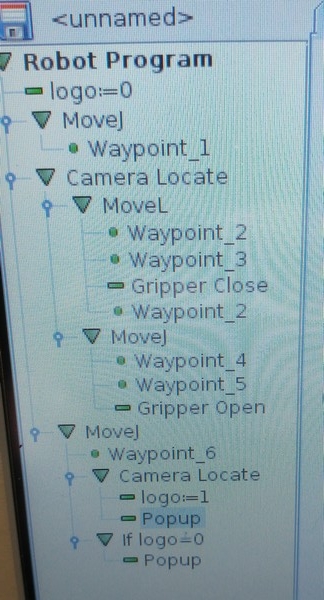
@Catherine_Bernier Like you mentioned you can have several different Camera Locate nodes in the same program. You can use several Camera Locate nodes to look for 2 different parts in the same program. Another possible application is using multiple Camera Locate nodes to create a larger field of view, this can be done by changing the snapshot position for each Camera Locate node. Another application consists of looking for parts that have very different sizes, you can use one camera locate node to look for a part that is 7"x7" and a second Camera Locate node to look for a smaller part (2"x2") that needs to be assembled onto the larger part.
 Tim_Smith
I got a question from a customer about if we can teach 2 different parts in the same program. The answer is yes you can! Just like described in this post, you can create a camera node to detect the part, then use the camera again to detect the tray or box to put the part in. Moreover, you don't need to calibrate the snapshot position at the same height for both. You can have different positions for each calibration.
I'll post a video later this week describing the process.
Any applications in mind where you need such a feature?