
@Kaleb_Rodes @Enric @Ryan_Weaver Any suggestions?
 Karine_Simard
 This is the Bin they will be packaged into.
 Etienne_Samson
@tylermartin take a look at the post on the beta driver, @Enric found a bug with the GUI over Polyscope 3.2.X, we will work on it and post on that beta driver thread. If you run on any bug like this, please report it in that thread.
Thanks !
 Catherine_Bernier
 tylermartin
no we cant because the same grippers run an assembly fixture for another part. We are just trying to use the setup we have with the least amount of modifications and no changeover because they run one part on day shift and another part on nights.Catherine_Bernier said:@tylermartin Just wondering if you can modify your mounting plate for the grippers to make it same center-to-center distance of the bin cases (1 and 3 for example)?
So, on point (1), you would have your grippers aligned with the pocket 1 and 3. Then you can program point (2) and the grippers would be aligned with pocket 2 and 4... etc.
Only a suggestion. What is your actual center distance between your pockets?
The centre distance will probably actually work out because it's 10 3/4" centre op pocket 1 to pocket 4. So I could just set 3 points per row, and set up 5 rows.
 Enric
Enric
 Kaleb_Rodes
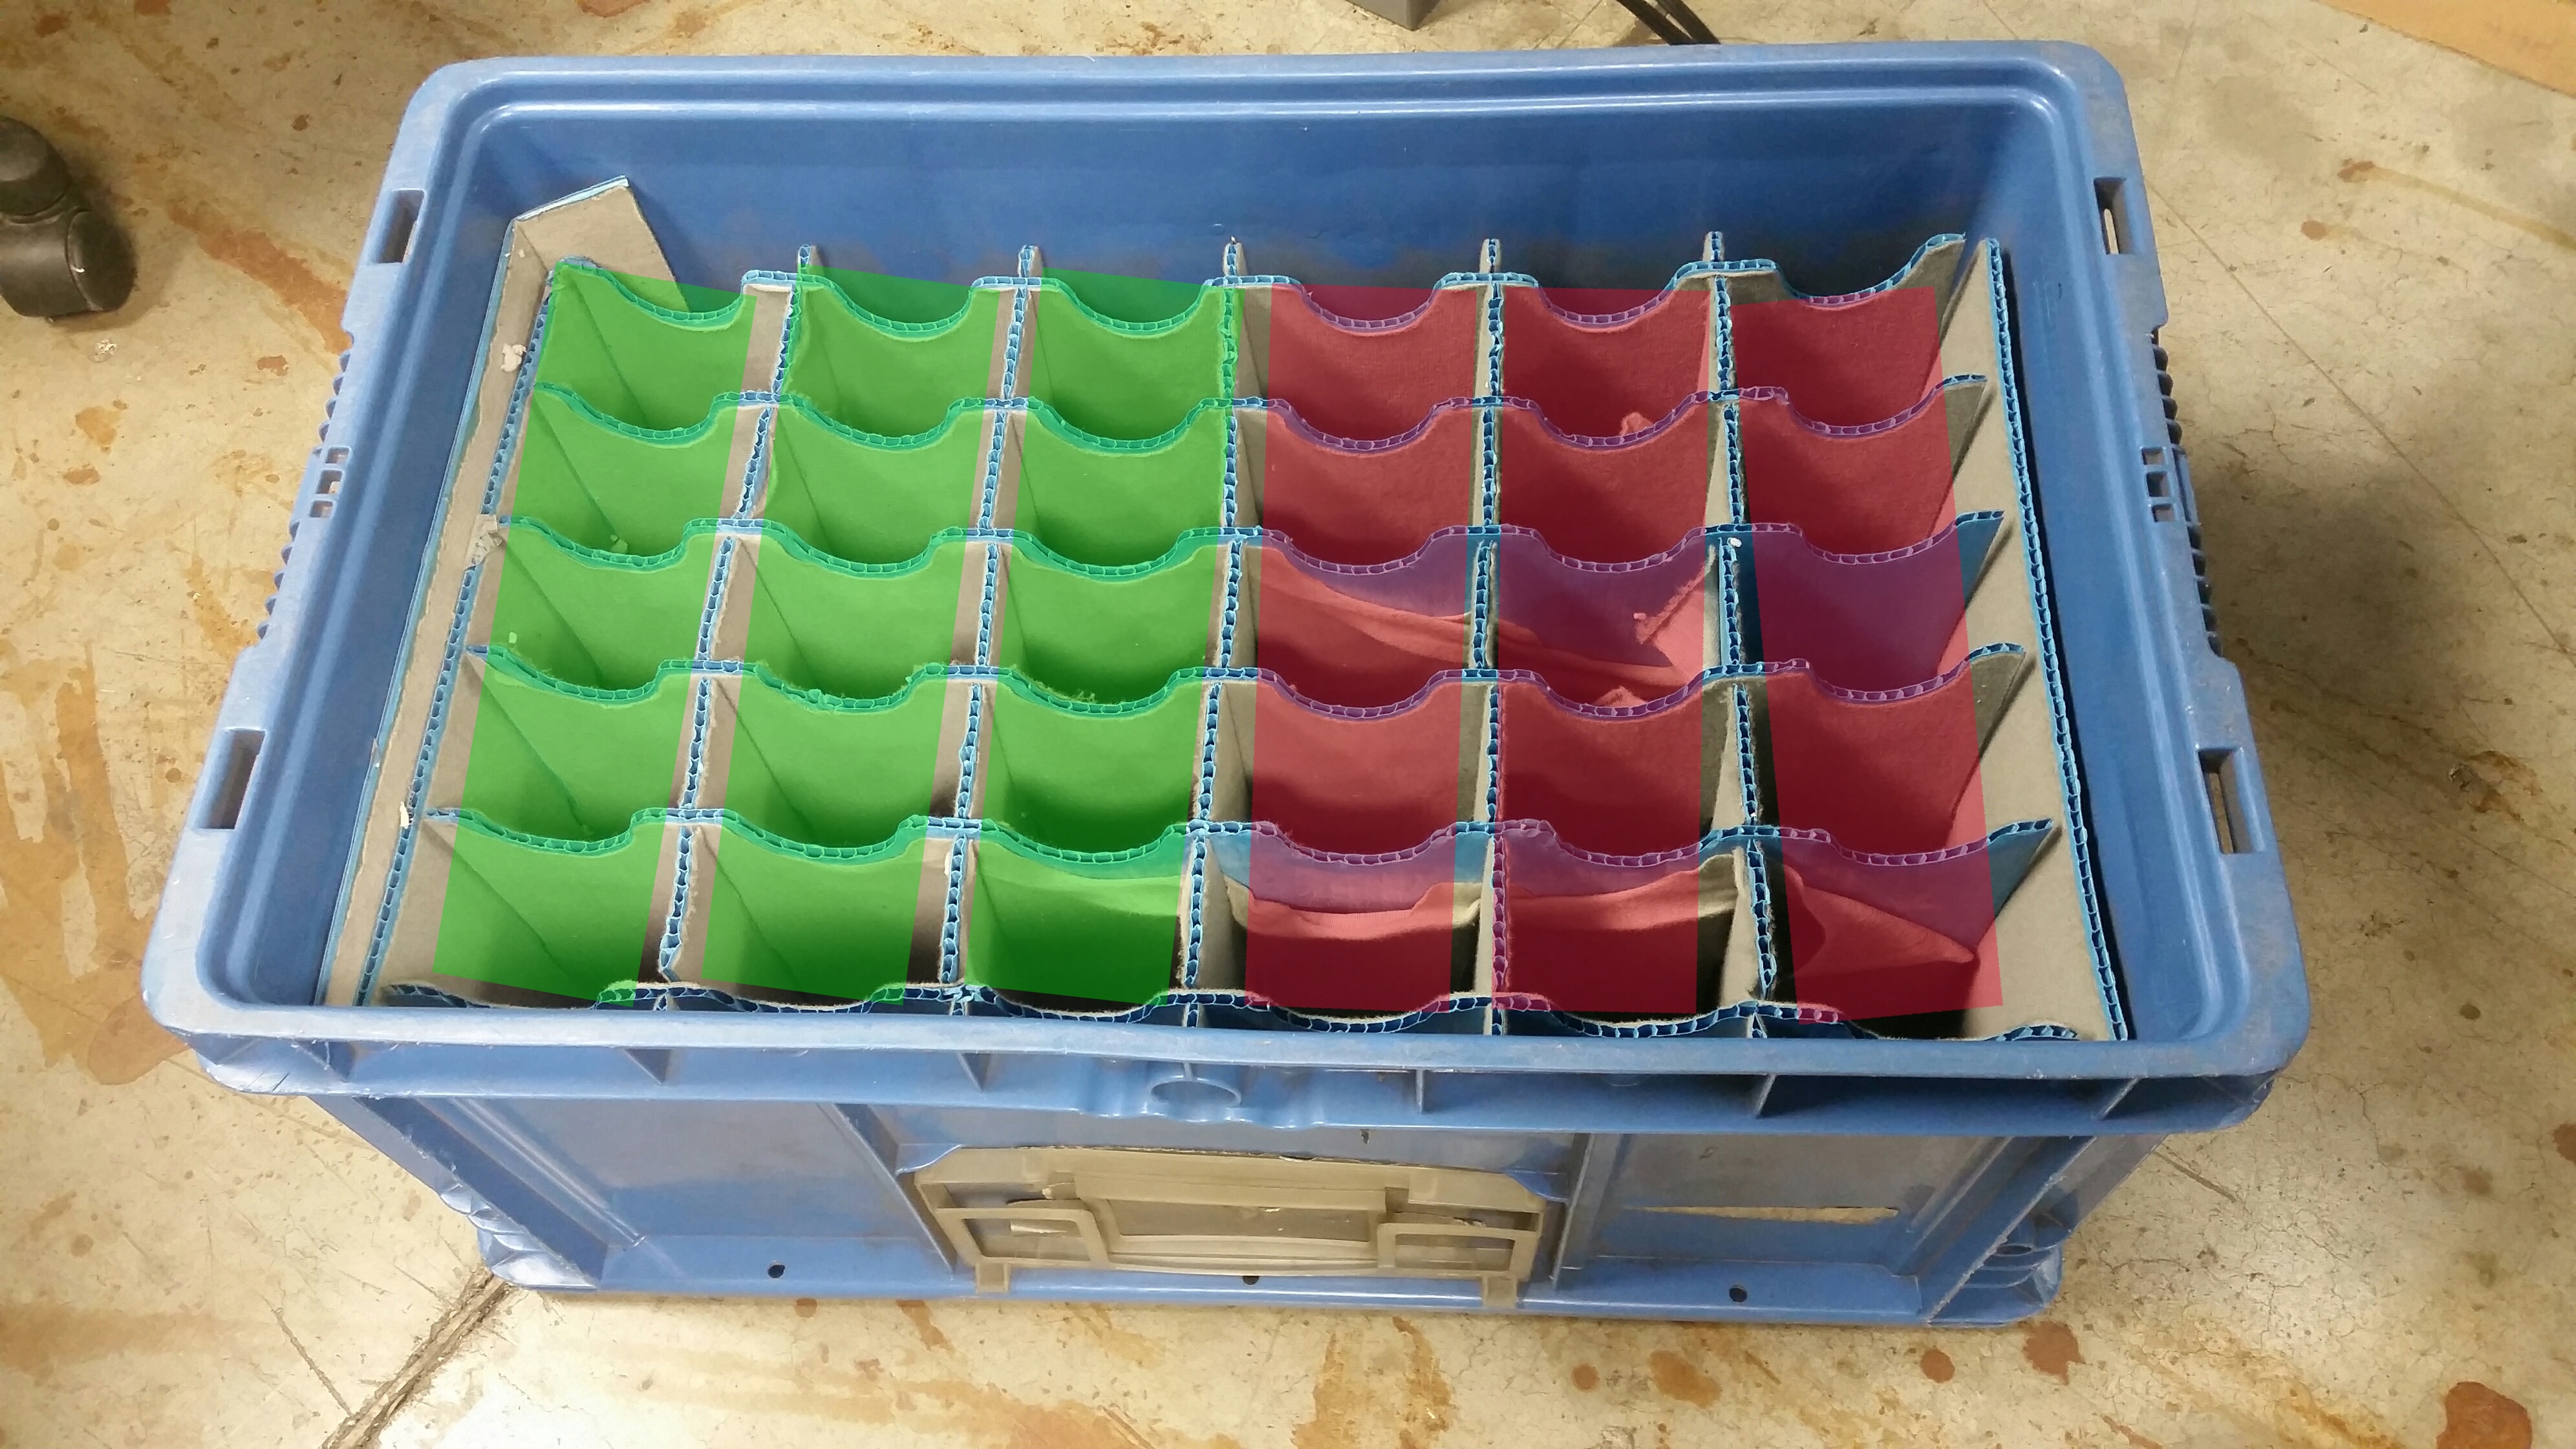
I am working on a project where I need to pack components and we are currently using the 2 gripper beta program to run dual 2F-140 grippers. We need to take 2 parts from an EOAT on our extruding machine and package them in a sectioned bin.
The spacing of our grippers on the UR robot is 11" centre and the spacing on the EOAT is 5.5", so we will need to pick twice. My concern is the palletizing of the parts into the bin with 2 grippers.
Should I set up the points of the pattern for (1) "gripper 1" location (2) "gripper 2" (3) "gripper 1" (4) "gripper 2" etc. and just set a point for every space on my bins?
The idea is that after the bin is full we can pull it over and push it down a roller conveyor with our UR to make space for the next bin to come in. Then we only need one material handler to keep the line stocked with bins.
has anyone worked a project like this yet?